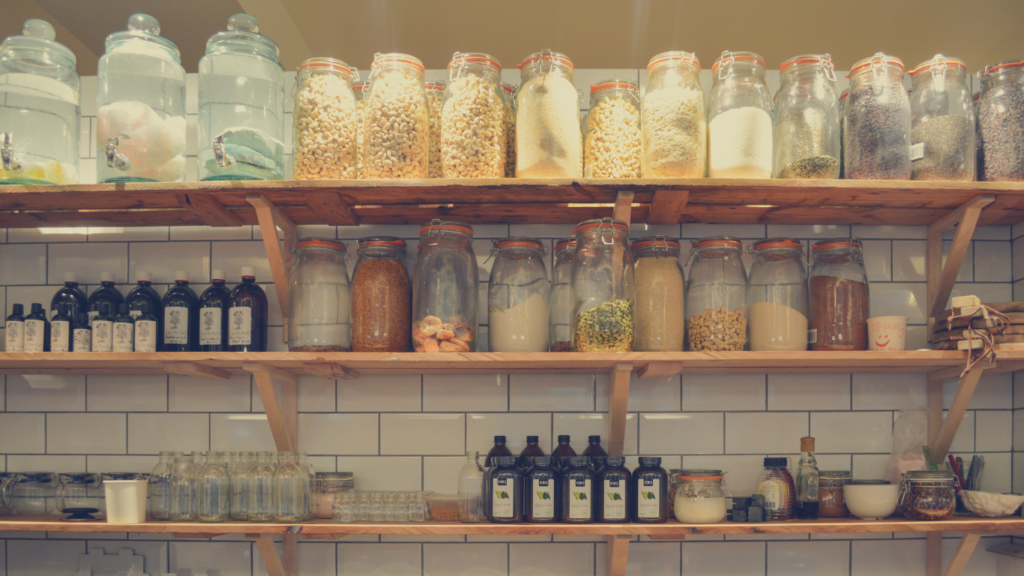
Organizing the pantry can bring a sense of calmness when you behold the beautiful arrangement and ease at which you can find everything when done. Taking inventory of what you have and how you want to store it. You could use clear bins, so you can see at a glance, or matching baskets to create uniform look that hides color and chaos. You could purchase lots of matching clean containers or jars to store dried goods in like pasta, rice, cereals, legumes, and flours. Baskets can be nice to hide small appliances in, as well as, hold matching items like cutting boards, paper plates and napkins, water bottles, lunch boxes.
In this post we will look at:
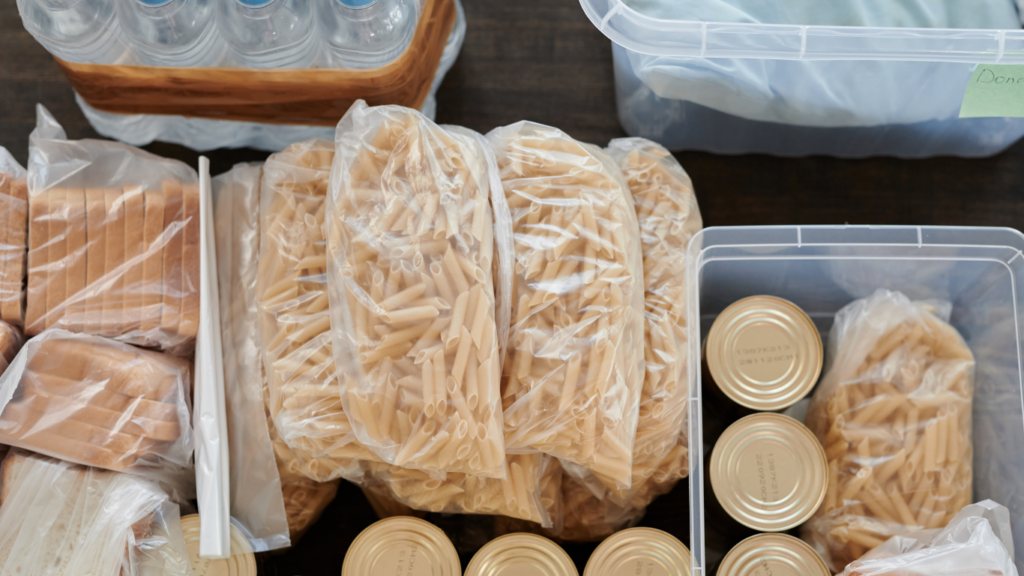
- Empty and clean out the pantry
- How to “zone” and group like items
- Maximizing the space you are working with
- Labeling and organizing for easy access and inventory replenishment
- How to maintain the organization
Empty and Clean the Pantry
Take it all out. If you are working in a closet pantry or open shelving, wherever you are stuffing the snacks, canned goods, pastas, paper plates, small appliances, extra water bottles- you get the idea – take it all out and put it on your kitchen table or if you have a large island or countertop. This will allow you to see EVERYTHING you do have and take a visual inventory. Now is the time to wipe down shelves, vacuum or sweep the floors, nooks and crannies. Throw out any and all trash you come across. If you come across expired items, throw them out. If you would like to keep a notepad on hand to jot down items you’ll bee to replace next time your at the grocery store, this might be helpful.
Zone and Group Like Items
This next part is my favorite. Grouping the same items together and combining some if you can. Then on the kitchen table or countertop, create your zones, and group like items in the same zones. Some examples of zones are:
- pastas and rices
- baking items
- canned goods
- grab and go snacks
- storage containers or glass jars
- small appliances with extra attachments
- extras or back-ups
- paper goods (plates, napkins, utensils)
- entertaining serving dishes, platters, charcuterie boards, cutting boards
- drinks
- breakfast items
- larger bagged snacks like chips and pretzels
- supplements
- candy items
- condiments, sauces, spices and seasoning packets, salad dressings
- lunch boxes, reusable bags, picnic style bags/baskets, lunch coolers
I think you get the idea? These are just how my mind thinks to group, but do what makes sense to you. This way you will know WHERE to find what you are looking for once we put it away.
Maximize your Space
If you have adjustable shelving in your pantry now is the time work it to your advantage. I like to put heavy items like bottles of water or gatorades/ sodas on the floor under the “bottom” shelf. Also large baskets full of lunchboxes or reusable bottles or cups that can easily all be thrown into the same bin are great to put on the floor and give kids easy access to them. Also, our bulk items I use to restock, that usually come in boxes are something I stack and store on the floor. If you have entertaining items like serving dishes or an ice cream maker you only use a couple of times a year and you could put on the top shelf out of the way.
Utilize your easy to access self space with every day items like grab and go snacks, dinner items, breakfast items, etc. If you store supplements in your pantry make sure they are out of reach of little arms and hands. Also consider storing heavy items where you can safely access them, not too far overhead or on the floor if lifting them incorrectly may hurt. And if you don’t already have a step stool of some kind to reach that top shelf in the pantry, now would be a good time to add that to the list!
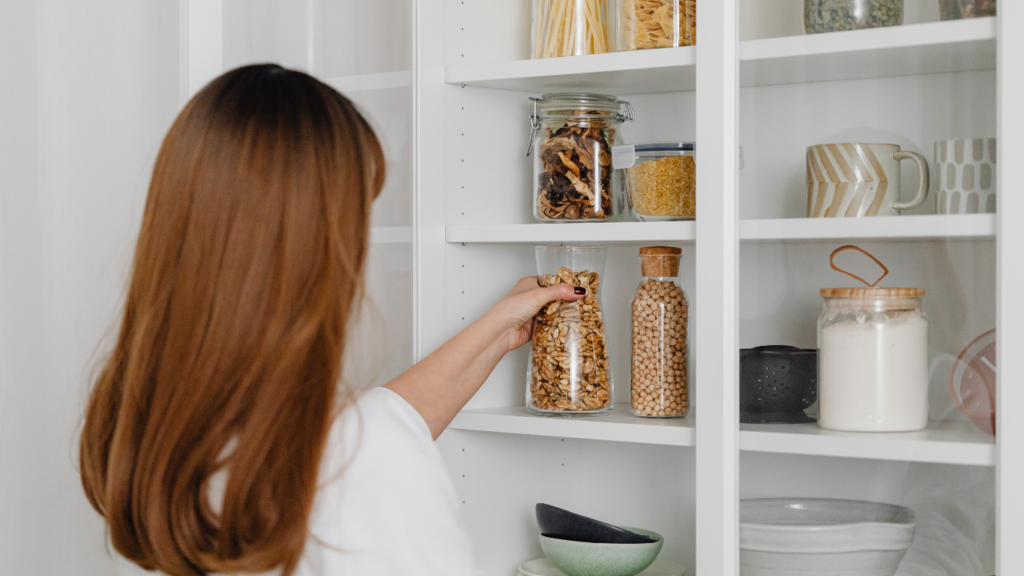
Label and Organize
This part is the pretty and fun part! There are so many options of baskets, bins, jars and storage containers on the market today that it’s worth getting what you like! What is going to motivate you to keep your pantry organized? Do you like clear bins where you can see what is in them and when you are getting low? Do you like baskets for a more uniformed look and less visually chaotic? Perhaps you like patterns or a favorite color, then get baskets or bins in that color! Here are a few of my favorite:
If you like to label or if you bought storage bins you can’t see the contents inside, check out some of these cute label stickers.

Maintain the Organization
Labeling baskets and bins makes it easier to keep the pantry organized. Everyone who can read in your house has no excise for not putting it back! Also, when making your grocery list this allows for you to easily identify items getting low or missing. Some people love to put individual items like, rices, pastas, cereals, nuts, etc in their own containers and label those. But if that feels overwhelming just stick to implementing the zones and groups for now.
Turn on your favorite song and starting putting everything back in the pantry! Now I will say you may want to gather the family together and do a quick overview of where things are now and where they are expected to be returned to if they leave the pantry. Jf you have a restock section you may want to clarify with family members where that is and where the current items are, so as to avoid them getting into the over stock and when you go to restock noticing the overstock is gone too!
I hope these simple steps have encouraged and inspired you to take a little time to organize your pantry! I hope in doing so you have created a calm and beautiful space that invites you in to “shop” your own pantry and dismisses any feelings of overwhelm or chaos when it comes to menu planning or cooking! Bon Appétit!
Източник за тази статия
Наши спонсори са:
Български трактори на добри цени при изключително качество